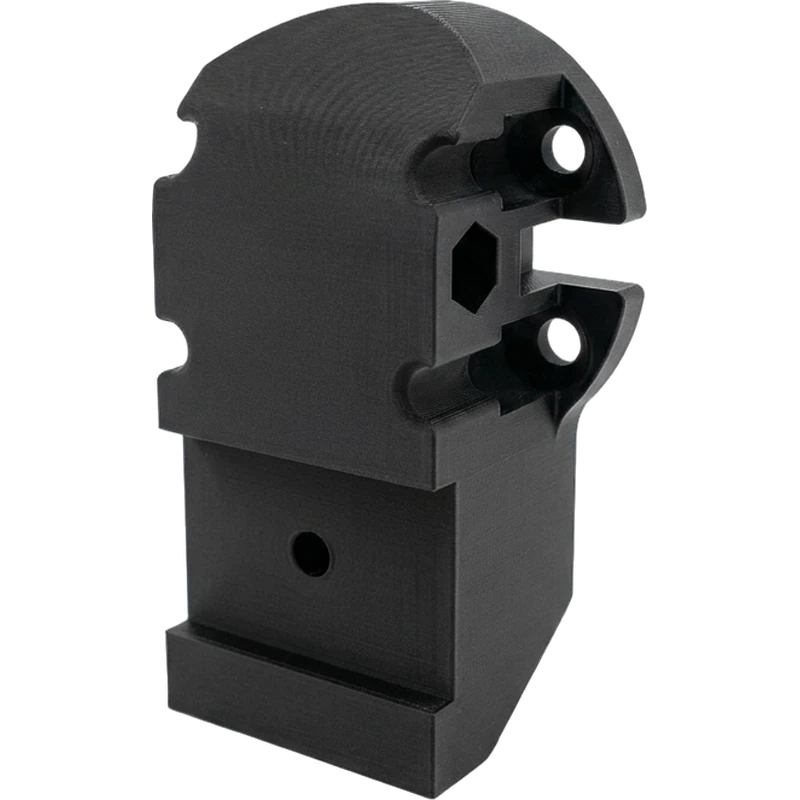
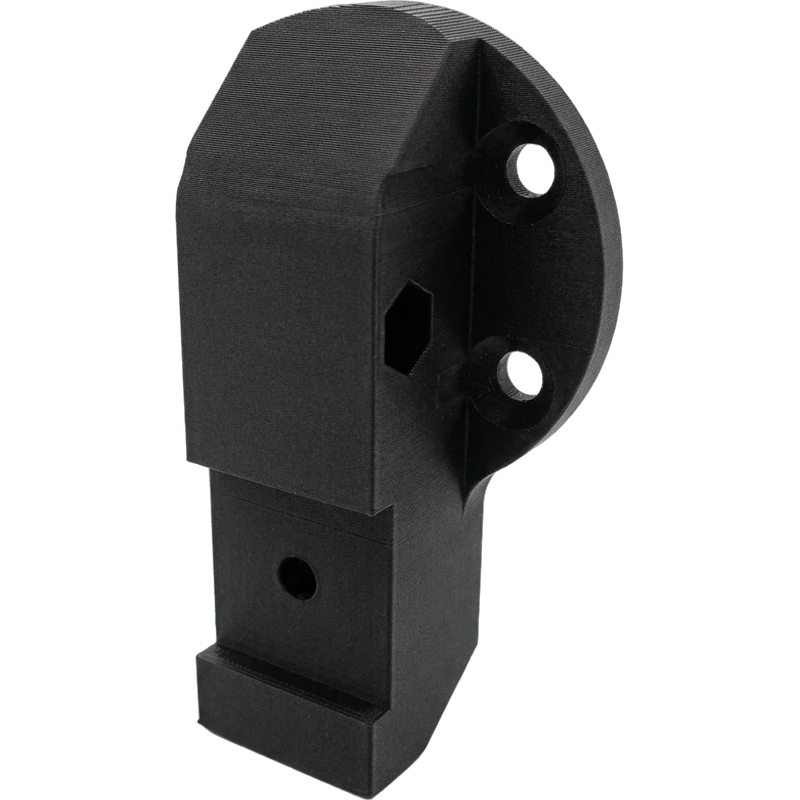
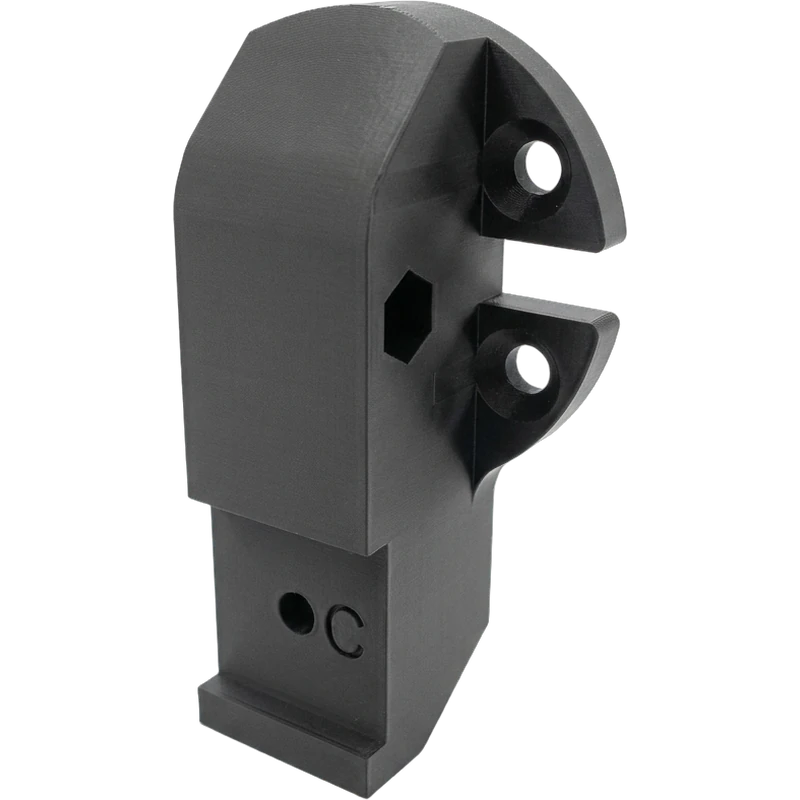
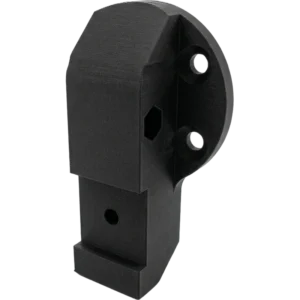
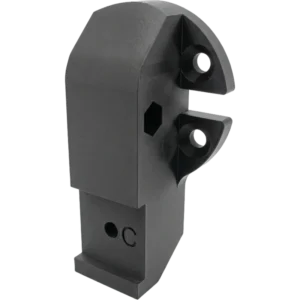
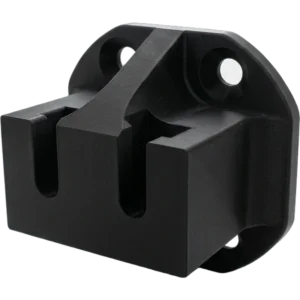
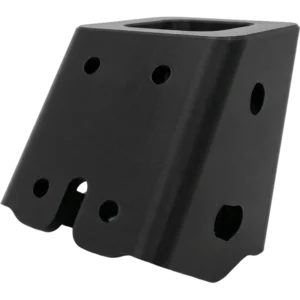
Choose the adapter for your Heusinkveld Sprint clutch pedal, or leave it empty.
1 × Heusinkveld Sprint haptics adapter ( Clutch )
$19.99
Description
NOX Gaming 3D Haptic Reactor Adapters for Heusinkveld Sprint Pedals
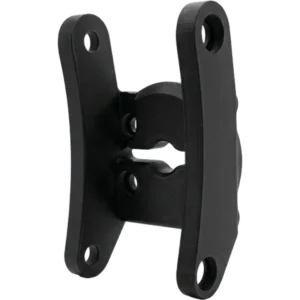
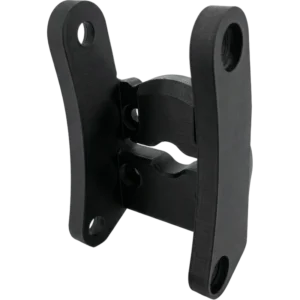
Mount a SIMAGIC P-HPR or SIMNET SP Pro haptic reactor directly on your Heusinkveld Sprint pedals with these 3D-printed adapters from NOX Gaming 3D. Each Heusinkveld Sprint pedal uses its own adapter: choose the one for each pedal you want to equip below, one, two or all three.
One of each is enough for up to 3 motors of the same brand (brake, throttle and clutch). If you already own them, you only need the motors and adapters.
Adapter compatibility
Adapter
Brake
Throttle
Clutch
Heusinkveld Sprint haptics adapter ( Brake )
✓
–
–
Heusinkveld Sprint haptics adapter ( Throttle )
–
✓
–
Heusinkveld Sprint haptics adapter ( Clutch )
–
–
✓
Installation instructions
Heusinkveld Sprint haptics adapter ( Brake )
Attach SIMAGIC P-HPR or SIMNET SP Pro haptics to your Heusinkveld Sprint Brake pedal
Disassemble your Heusinkveld pedal that you are intending to modify.
Take the long hex nut from the HE pedal and insert it into the adapter.
This will be a tight fit. That’s by design to maximize the conduction of the vibration, and minimize any chance of a rattle. Screw in a bolt to help you push it in, if needed.
Inserting the short nut:
Take the 25mm bolt and insert it through the front.
Thread the flat side of the short nut onto the bolt.
Pull the bolt into its socket in the printed adapter.
Attach the P-HPR using its 4 included countersunk bolts. Note the orientation of the cable (don’t pinch it). Make sure these are as tight as you can make them without cracking the plastic (which seems it would be difficult to do).
Click the adapter with the P-HPR into the square bracket of the pedal.
Align the long hex nut hole with the holes in that pedal frame.
Carefully thread the side bolts into the long hex nut through the frame. You may need to jostle the adapter a little to find the right alignment. Take your time here so you don’t cross-thread anything. Tighten them down.
Mounting the pedal face:
Place the pedal face into position.
Take the 25mm M4 bolt and GENTLY push it in. The goal here is to avoid popping out the hex nut.
Once you feel the bolt’s end meet the hex nut, gently twist it to engage the threads.
Tighten down.
Heusinkveld Sprint haptics adapter ( Throttle )
Attach SIMAGIC P-HPR or SIMNET SP Pro haptics to your Heusinkveld Sprint Throttle pedal
Disassemble your Heusinkveld pedal that you are intending to modify.
Take the long hex nut from the HE pedal and insert it into the adapter.
This will be a tight fit. That’s by design to maximize the conduction of the vibration, and minimize any chance of a rattle. Screw in a bolt to help you push it in, if needed.
Inserting the short nut:
Take the 25mm bolt and insert it through the front.
Thread the flat side of the short nut onto the bolt.
Pull the bolt into its socket in the printed adapter.
Attach the P-HPR using its 4 included countersunk bolts. Note the orientation of the cable (don’t pinch it). Make sure these are as tight as you can make them without cracking the plastic (which seems it would be difficult to do).
Click the adapter with the P-HPR into the square bracket of the pedal.
Align the long hex nut hole with the holes in that pedal frame.
Carefully thread the side bolts into the long hex nut through the frame. You may need to jostle the adapter a little to find the right alignment. Take your time here so you don’t cross-thread anything. Tighten them down.
Mounting the pedal face:
Place the pedal face into position.
Take the 25mm M4 bolt and GENTLY push it in. The goal here is to avoid popping out the hex nut.
Once you feel the bolt’s end meet the hex nut, gently twist it to engage the threads.
Tighten down.
Heusinkveld Sprint haptics adapter ( Clutch )
Attach SIMAGIC P-HPR or SIMNET SP Pro haptics to your Heusinkveld Sprint Clutch pedal
Disassemble your Heusinkveld pedal that you are intending to modify.
Take the long hex nut from the HE pedal and insert it into the adapter.
This will be a tight fit. That’s by design to maximize the conduction of the vibration, and minimize any chance of a rattle. Screw in a bolt to help you push it in, if needed.
Inserting the short nut:
Take the 25mm bolt and insert it through the front.
Thread the flat side of the short nut onto the bolt.
Pull the bolt into its socket in the printed adapter.
Attach the P-HPR using its 4 included countersunk bolts. Note the orientation of the cable (don’t pinch it). Make sure these are as tight as you can make them without cracking the plastic (which seems it would be difficult to do).
Click the adapter with the P-HPR into the square bracket of the pedal.
Align the long hex nut hole with the holes in that pedal frame.
Carefully thread the side bolts into the long hex nut through the frame. You may need to jostle the adapter a little to find the right alignment. Take your time here so you don’t cross-thread anything. Tighten them down.
Mounting the pedal face:
Place the pedal face into position.
Take the 25mm M4 bolt and GENTLY push it in. The goal here is to avoid popping out the hex nut.
Once you feel the bolt’s end meet the hex nut, gently twist it to engage the threads.
Tighten down.
What’s included
Heusinkveld Sprint haptics adapter ( Brake )
1x M4 25mm bolt
1x M4 Allen Key
Heusinkveld Sprint haptics adapter ( Throttle )
1x M4 25mm bolt
1x M4 Allen Key
Heusinkveld Sprint haptics adapter ( Clutch )
1x M4 25mm bolt
1x M4 Allen Key
Please note the haptic reactors are sold separately.
In business for over 10 years, NOX Gaming is the Canadian reference for quality Gaming PC builds. Since 2024, its Sim Racing offering is recognized throughout the country.
To provide the best experiences, we use technologies like cookies to store and/or access device information. Consenting to these technologies will allow us to process data such as browsing behavior or unique IDs on this site. Not consenting or withdrawing consent, may adversely affect certain features and functions.
Functional
Always active
The technical storage or access is strictly necessary for the legitimate purpose of enabling the use of a specific service explicitly requested by the subscriber or user, or for the sole purpose of carrying out the transmission of a communication over an electronic communications network.
Preferences
The technical storage or access is necessary for the legitimate purpose of storing preferences that are not requested by the subscriber or user.
Statistics
The technical storage or access that is used exclusively for statistical purposes.The technical storage or access that is used exclusively for anonymous statistical purposes. Without a subpoena, voluntary compliance on the part of your Internet Service Provider, or additional records from a third party, information stored or retrieved for this purpose alone cannot usually be used to identify you.
Marketing
The technical storage or access is required to create user profiles to send advertising, or to track the user on a website or across several websites for similar marketing purposes.