No products in the cart.
From $19.99
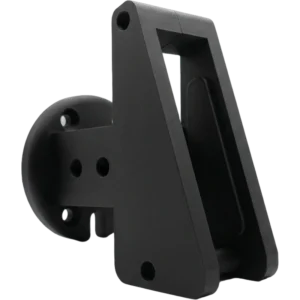
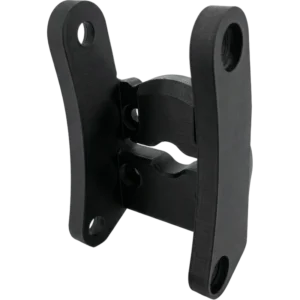
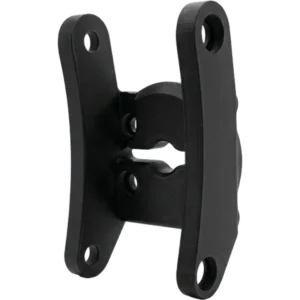
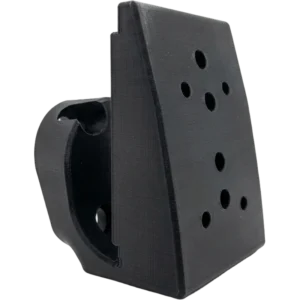
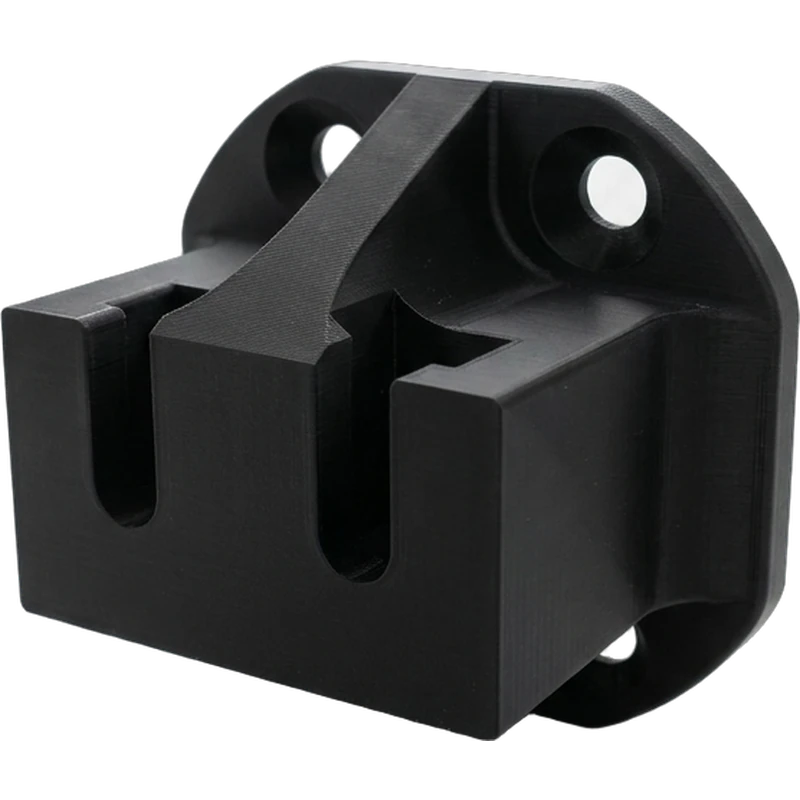
Mount a SIMAGIC P-HPR or SIMNET SP Pro haptic reactor directly on your Simgrade VX PRO pedals with these 3D-printed adapters from NOX Gaming 3D. Each Simgrade VX PRO pedal uses its own adapter: choose the one for each pedal you want to equip below, one, two or all three.
| Motor | What you feel | Best on | Keep in mind |
|---|---|---|---|
| SIMAGIC P-HPR | Strong vibration with adjustable frequency and amplitude, CNC aluminum body | Any pedal | Less fine detail than a linear motor |
| SIMAGIC P-HPR GT | Linear motor, crisp detail for ABS, wheel lock and loss of grip | Any pedal | Compact and light (150 g), more subtle than a strong vibration motor |
| SIMNET HPM-R | Rumble: road texture, kerbs, engine vibration | Any pedal | Broad vibration, less precise for braking cues |
| SIMNET PTT | Tactile transducer: sharp, focused feedback right under your foot | Brake and throttle | Concentrated feel rather than a broad rumble |
| SIMNET HPM-L | Linear: smooth, constant feedback for braking force, ABS and grip changes | Brake | Designed mainly for the brake |
| Adapter | Brake | Throttle | Clutch |
|---|---|---|---|
| Simgrade VX PRO Pedals haptics adapter ( Brake Pedal ) | ✓ | – | – |
| Simgrade VX PRO Pedals haptics adapter ( Throttle / Clutch Pedal ) | – | ✓ | ✓ |
Attach SIMAGIC P-HPR or SIMNET SP Pro haptics to your Simgrade VX PRO Brake pedal
replace the 15mm bolts holding the pedal face on by the 20mm bolt included with the adapter. You will reuse the nut (which the 3d print is sized for).
Be careful when removing the bolts as there is a load of washers between the pedal and mount
Installation:
Install the new bolts securing the pedal face but leave a 5mm gap between the nut and pedal for the 3d print to slot down on to, then tighten up the bolts.
The wire is designed to face up due to lack of clearance below.
The nut space in the 3d print is designed to hold the nut tight so if you remove the bolts the nuts will be held securely.
Attach SIMAGIC P-HPR or SIMNET SP Pro haptics to your Simgrade VX PRO Throttle / Clutch pedal
replace the 15mm bolts holding the pedal face on by the 20mm bolt included with the adapter. You will reuse the nut (which the 3d print is sized for).
Be careful when removing the bolts as there is a load of washers between the pedal and mount
Installation:
Install the new bolts securing the pedal face but leave a 5mm gap between the nut and pedal for the 3d print to slot down on to, then tighten up the bolts.
The wire is designed to face up due to lack of clearance below.
The nut space in the 3d print is designed to hold the nut tight so if you remove the bolts the nuts will be held securely.
Please note the haptic reactors are sold separately.